Posted on March 5, 2021 by Rajesh Vinayagam
Organizations today look for application development that is agile and that can scale quickly as required. Modern applications architecture prefer Kubernetes and MongoDB for application orchestration and data management needs. And while most major cloud vendors such as AWS, Azure, and Google offer Kubernetes as a Managed Service(PaaS), MongoDB offers a fully-managed database service called Atlas. Peering or Private Endpoints help connect to an Atlas cluster running on AWS, Azure or Google Cloud.
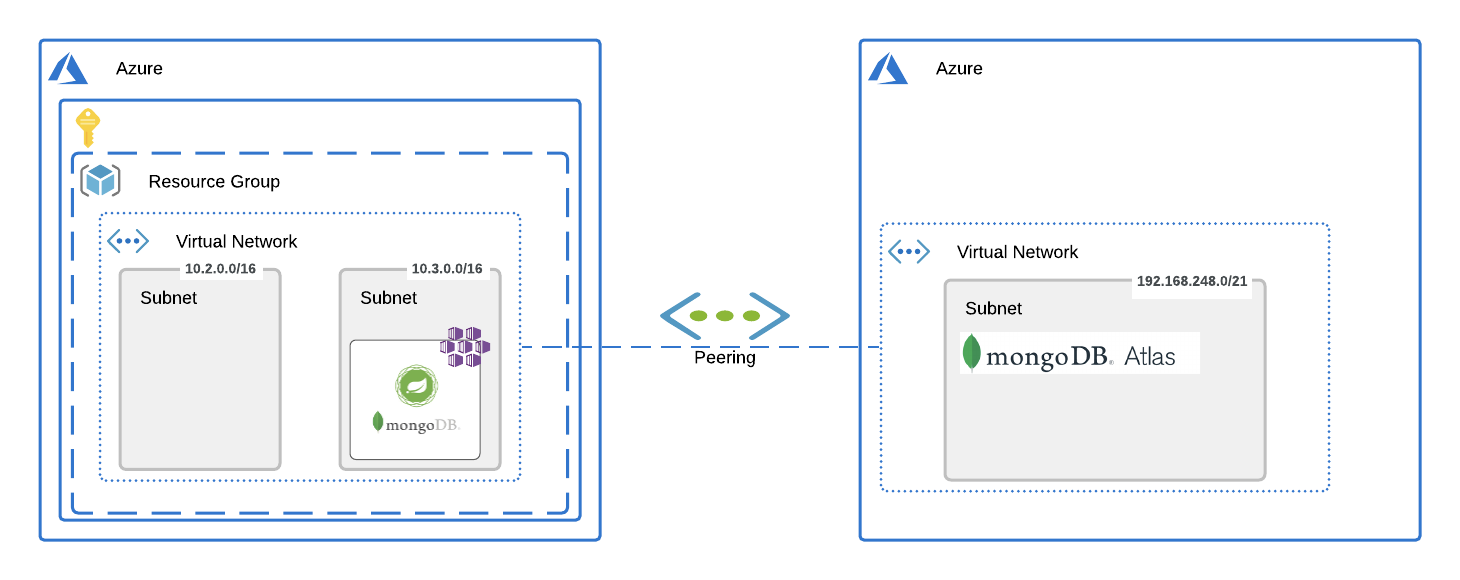
In this blog, lets see how we can create Peering between Azure Kubernetes Services (AKS) Cluster and MongoDB Atlas running on Azure.
AKS cluster are usually deployed within customers’ Virtual Network (VNet), and MongoDB Atlas clusters are deployed within their own VNet. We first create a VNet Peering between AKS and Mongo Atlas, and then use the private address space allocated in Azure AKS as the whitelisted IP’s in Atlas.
Pre-requisites:
Mongo Atlas (Azure)
- Create an Atlas account.
- Create an Organization with one project.
- Create an Atlas Cluster (Peering option is available only on M10 and above).
- Create a DB User with access to any database.
Kubernetes Cluster (AKS)
- Create an Azure Subscription, if you don’t have one already.
- Create a Resource Group and have a region similar to the one in the Atlas Cluster.
- Create Kubernetes service, Container Registry and VPN under the above resource group.
- Deploy the Spring Boot App.
- Create an external service as Load Balancer.

Creating an Atlas Cluster:
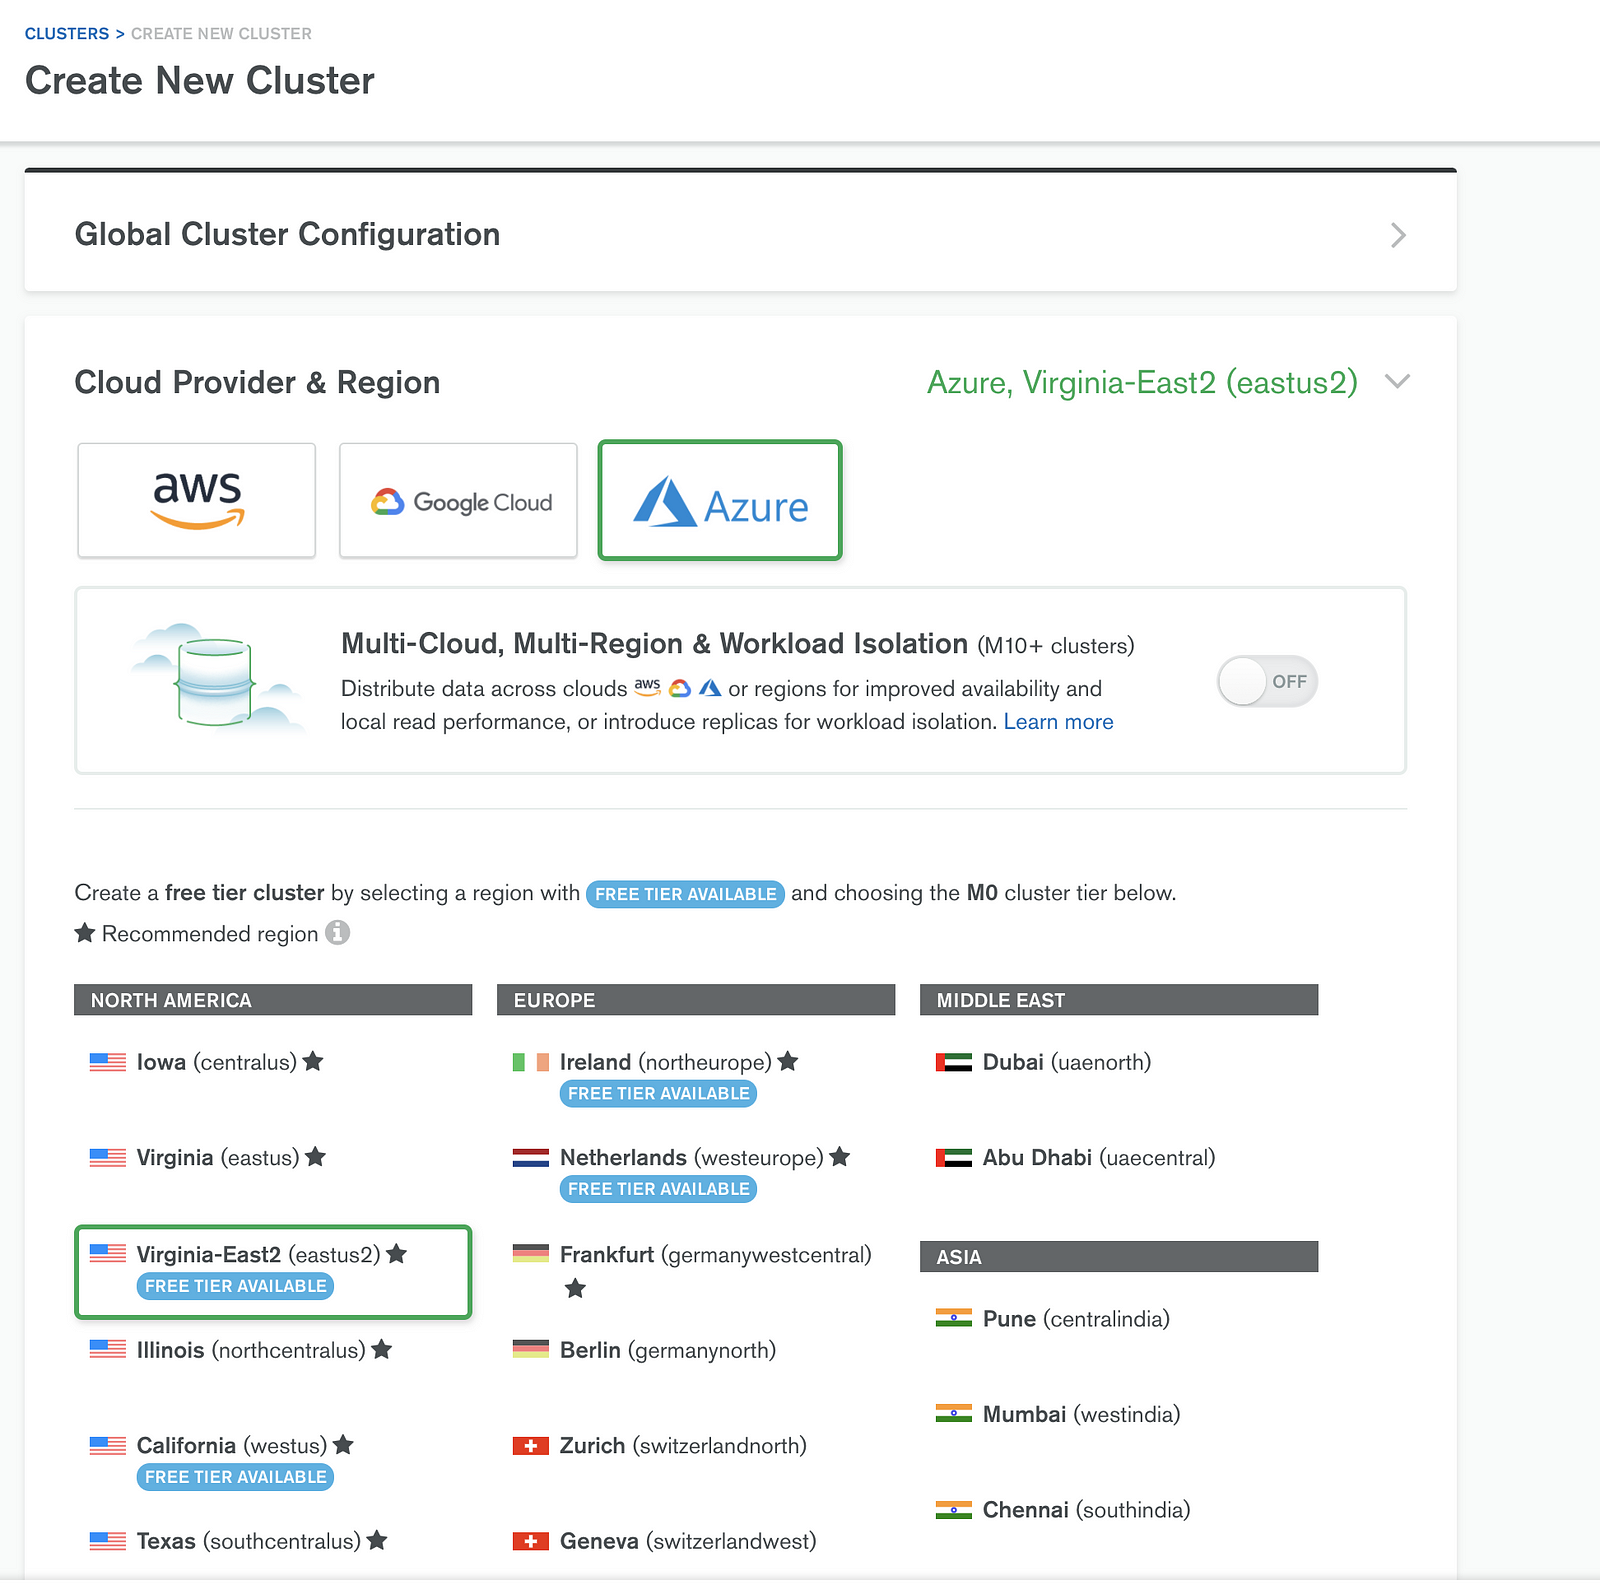
Under the project, choose Create Cluster and follow the wizard shown below.
Select the required cloud provider. For this instance, we are using Azure, and then choose the required region.
For Cluster Tier use M10, as Peering is allowed only from m10 and above. It usually takes about 10 minutes for the cluster to be created. Once that is done, we generate a DB user.
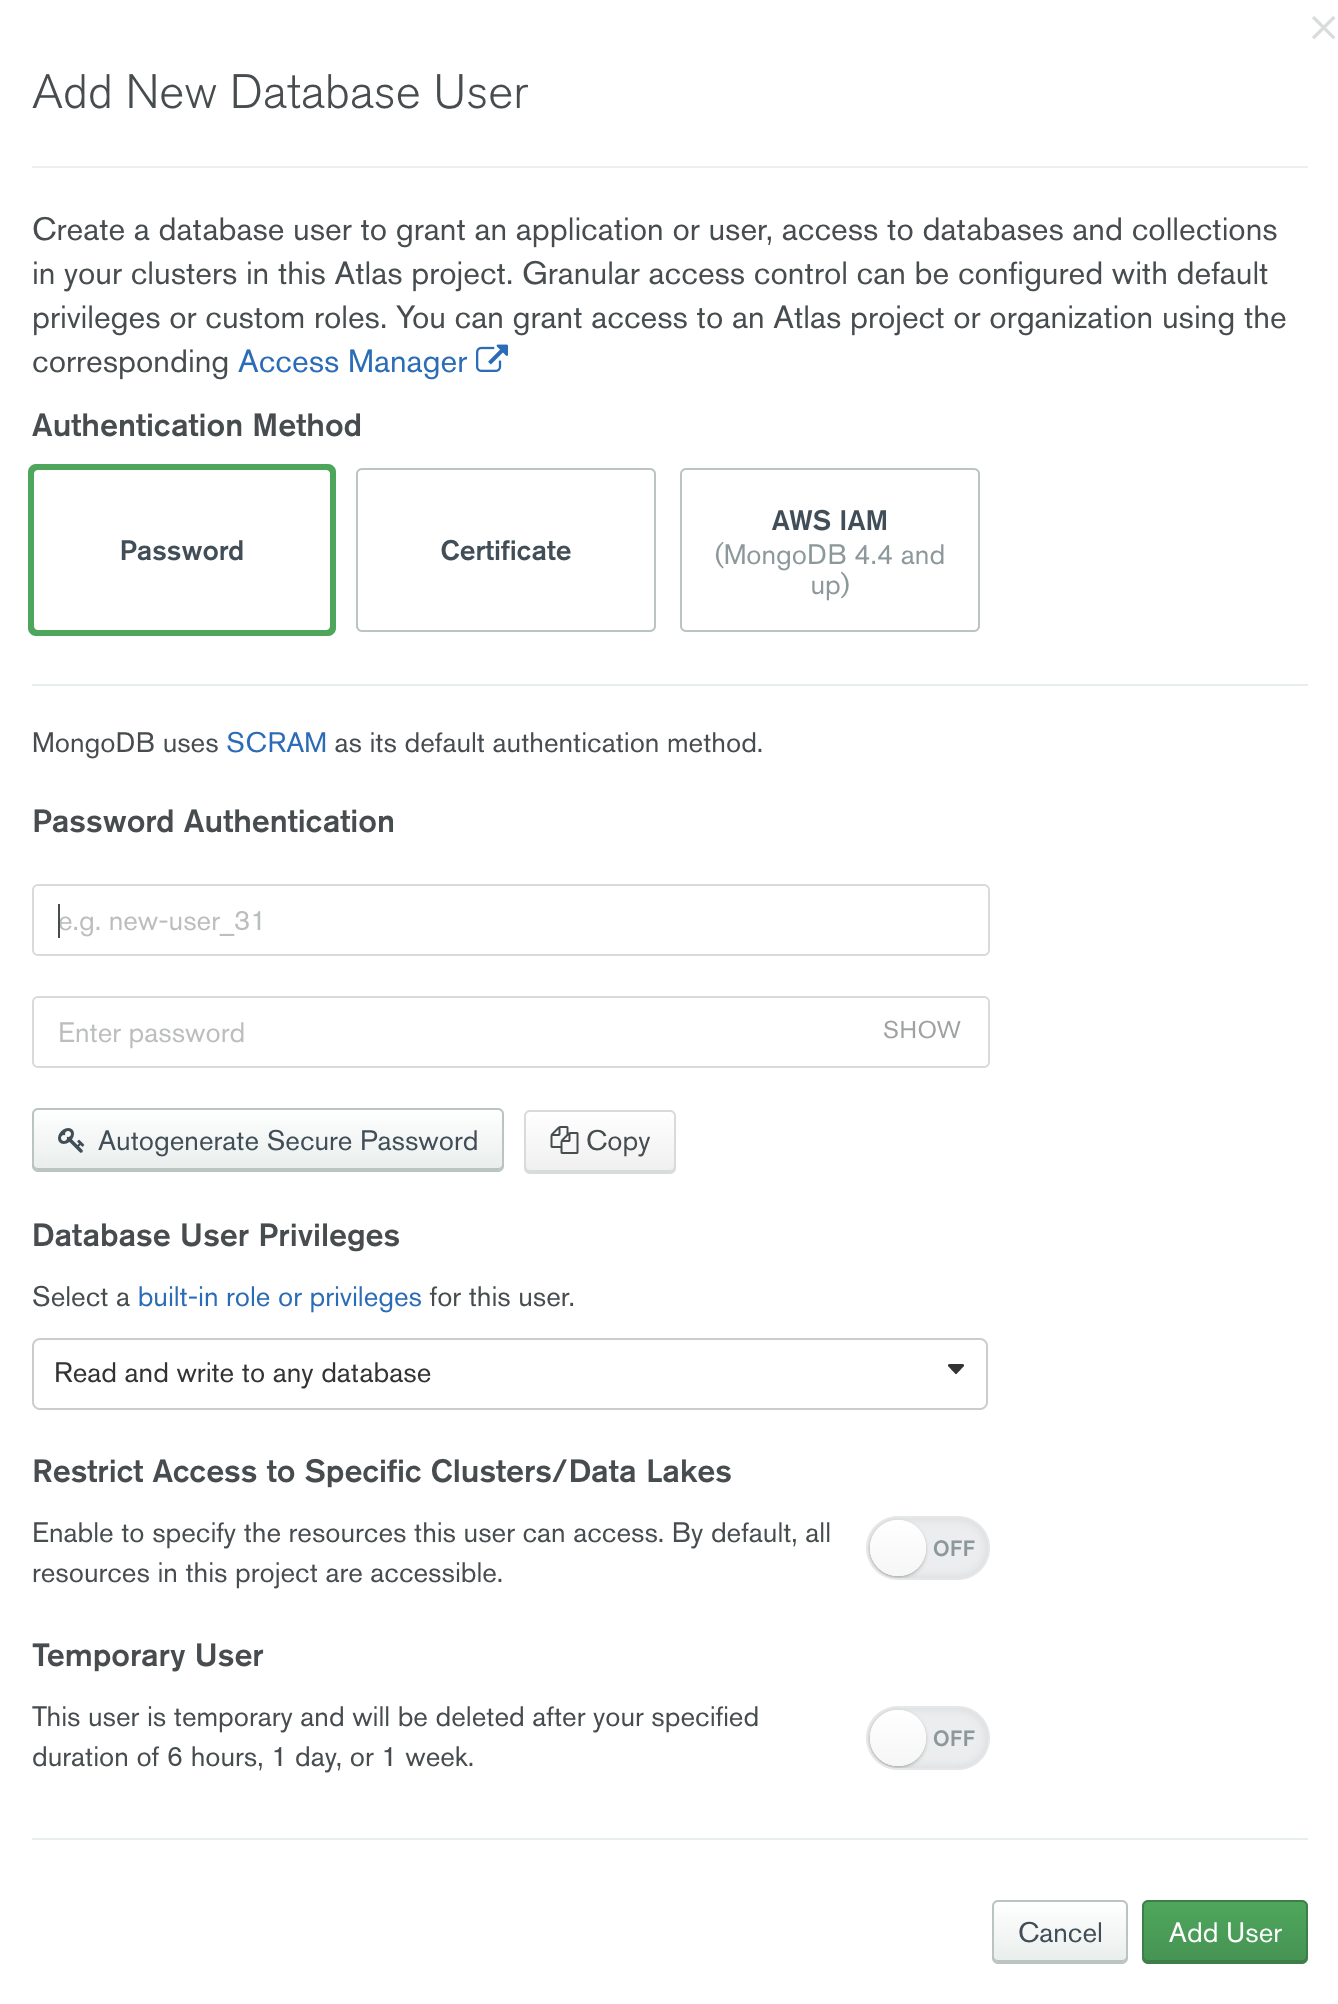
Adding a New DB User:
Add a DB user with read and write access to the database. This will be used in the connection string for connecting to a database.
Creating an AKS Cluster
Create a Kubernetes service, following the wizard shown.
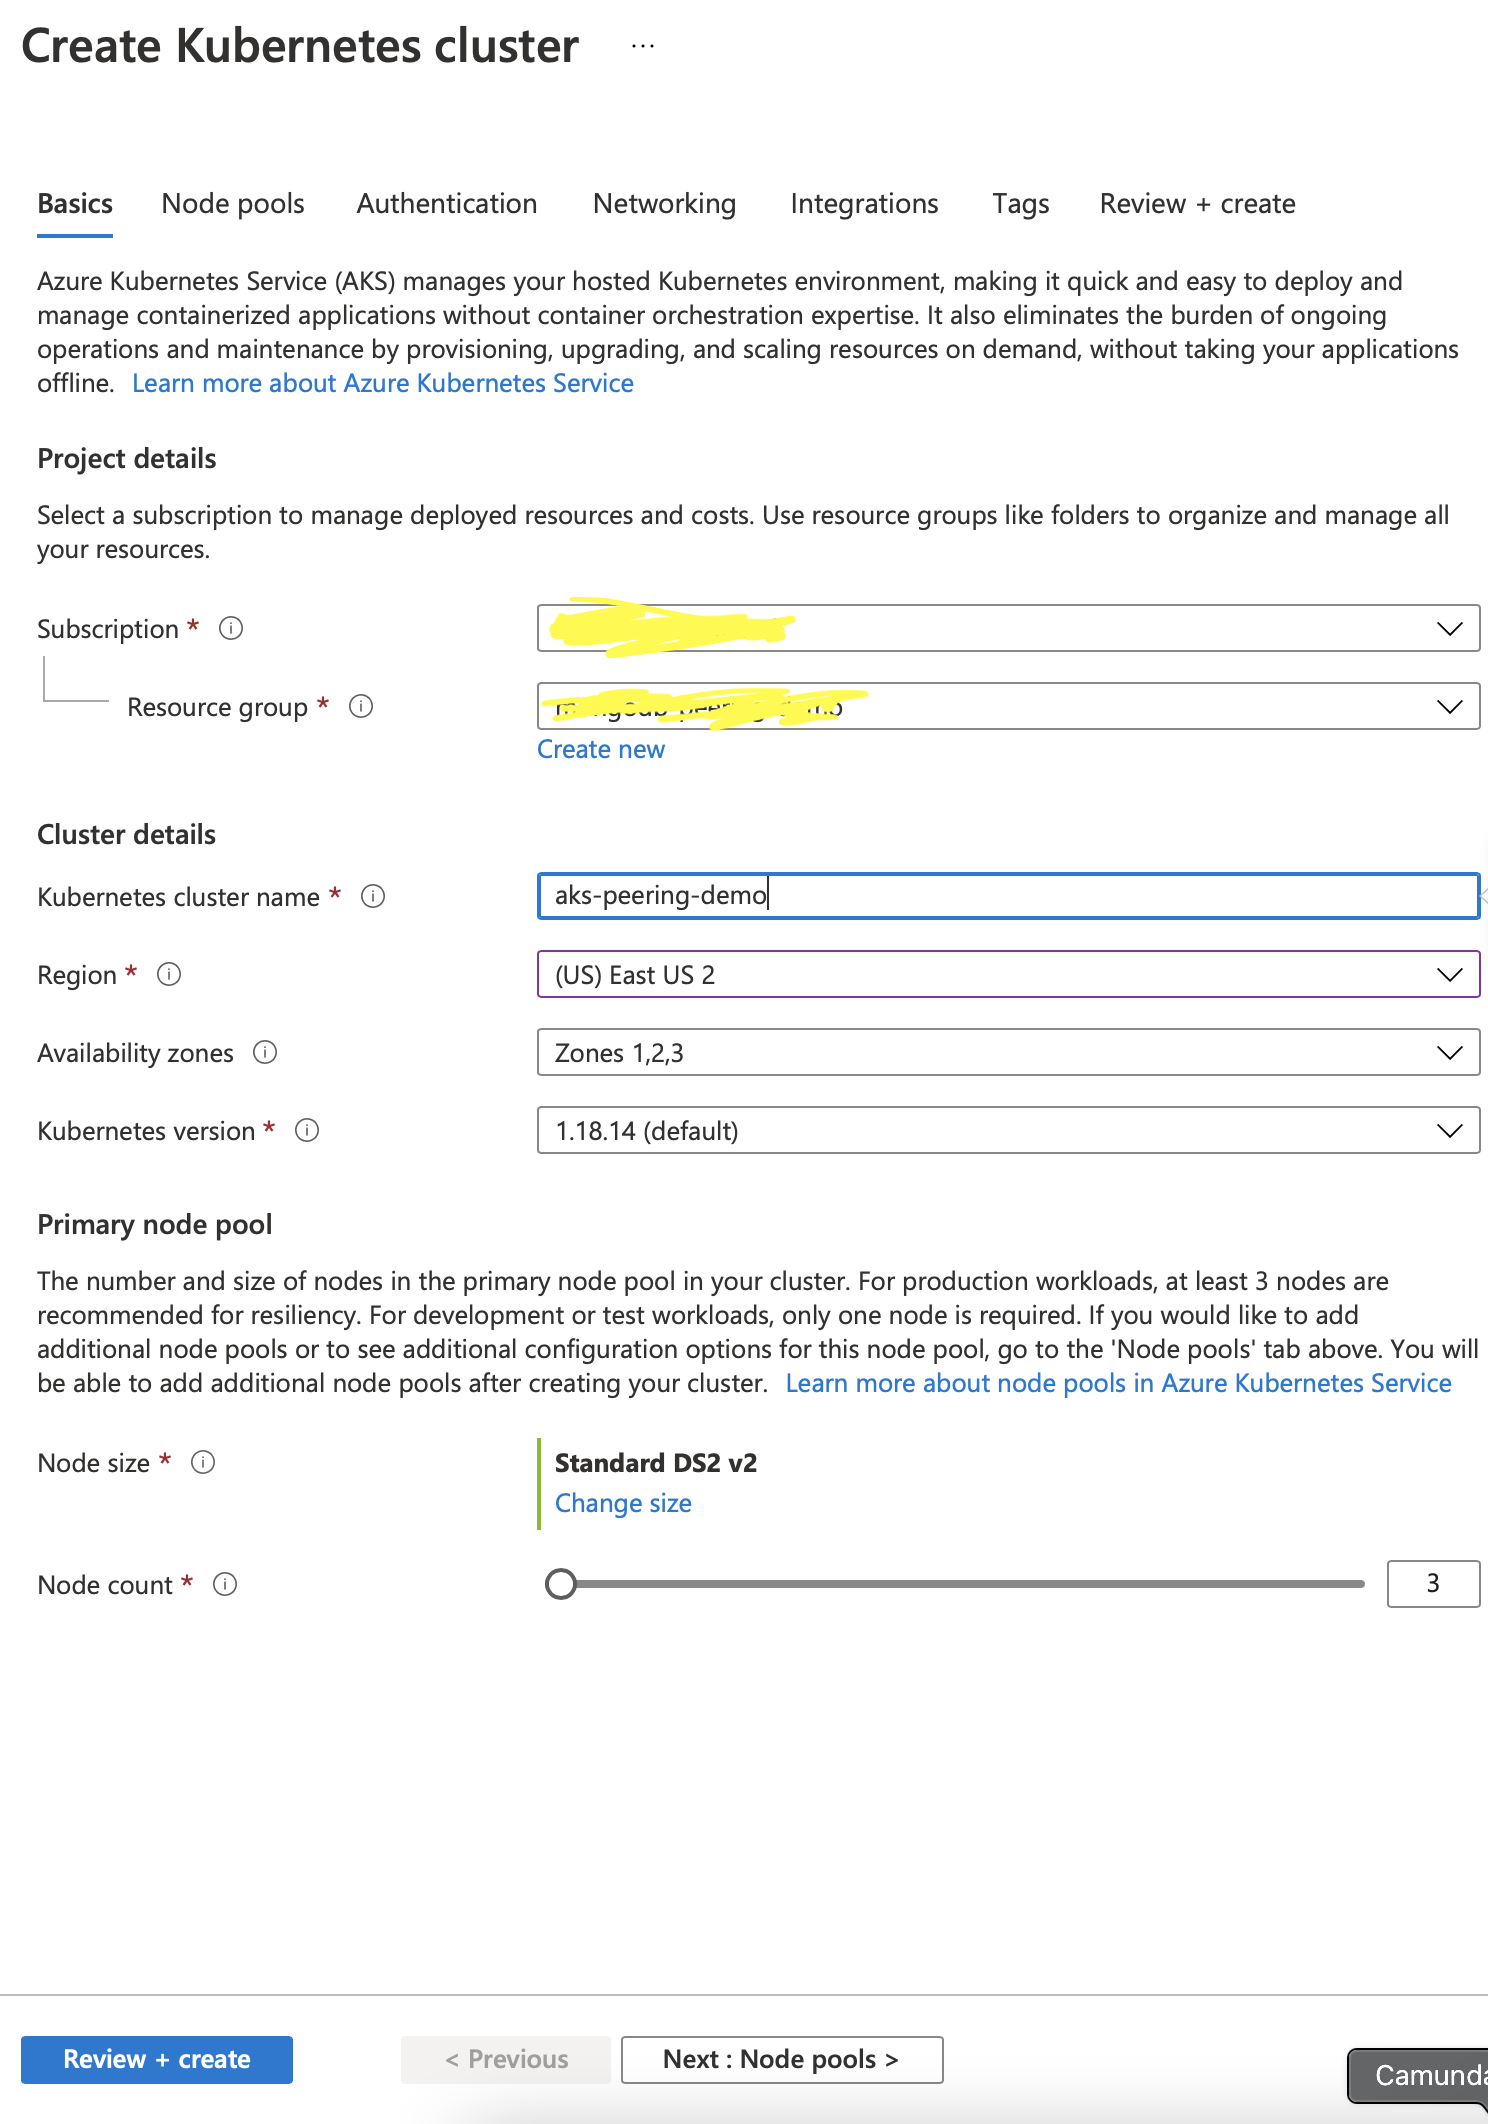
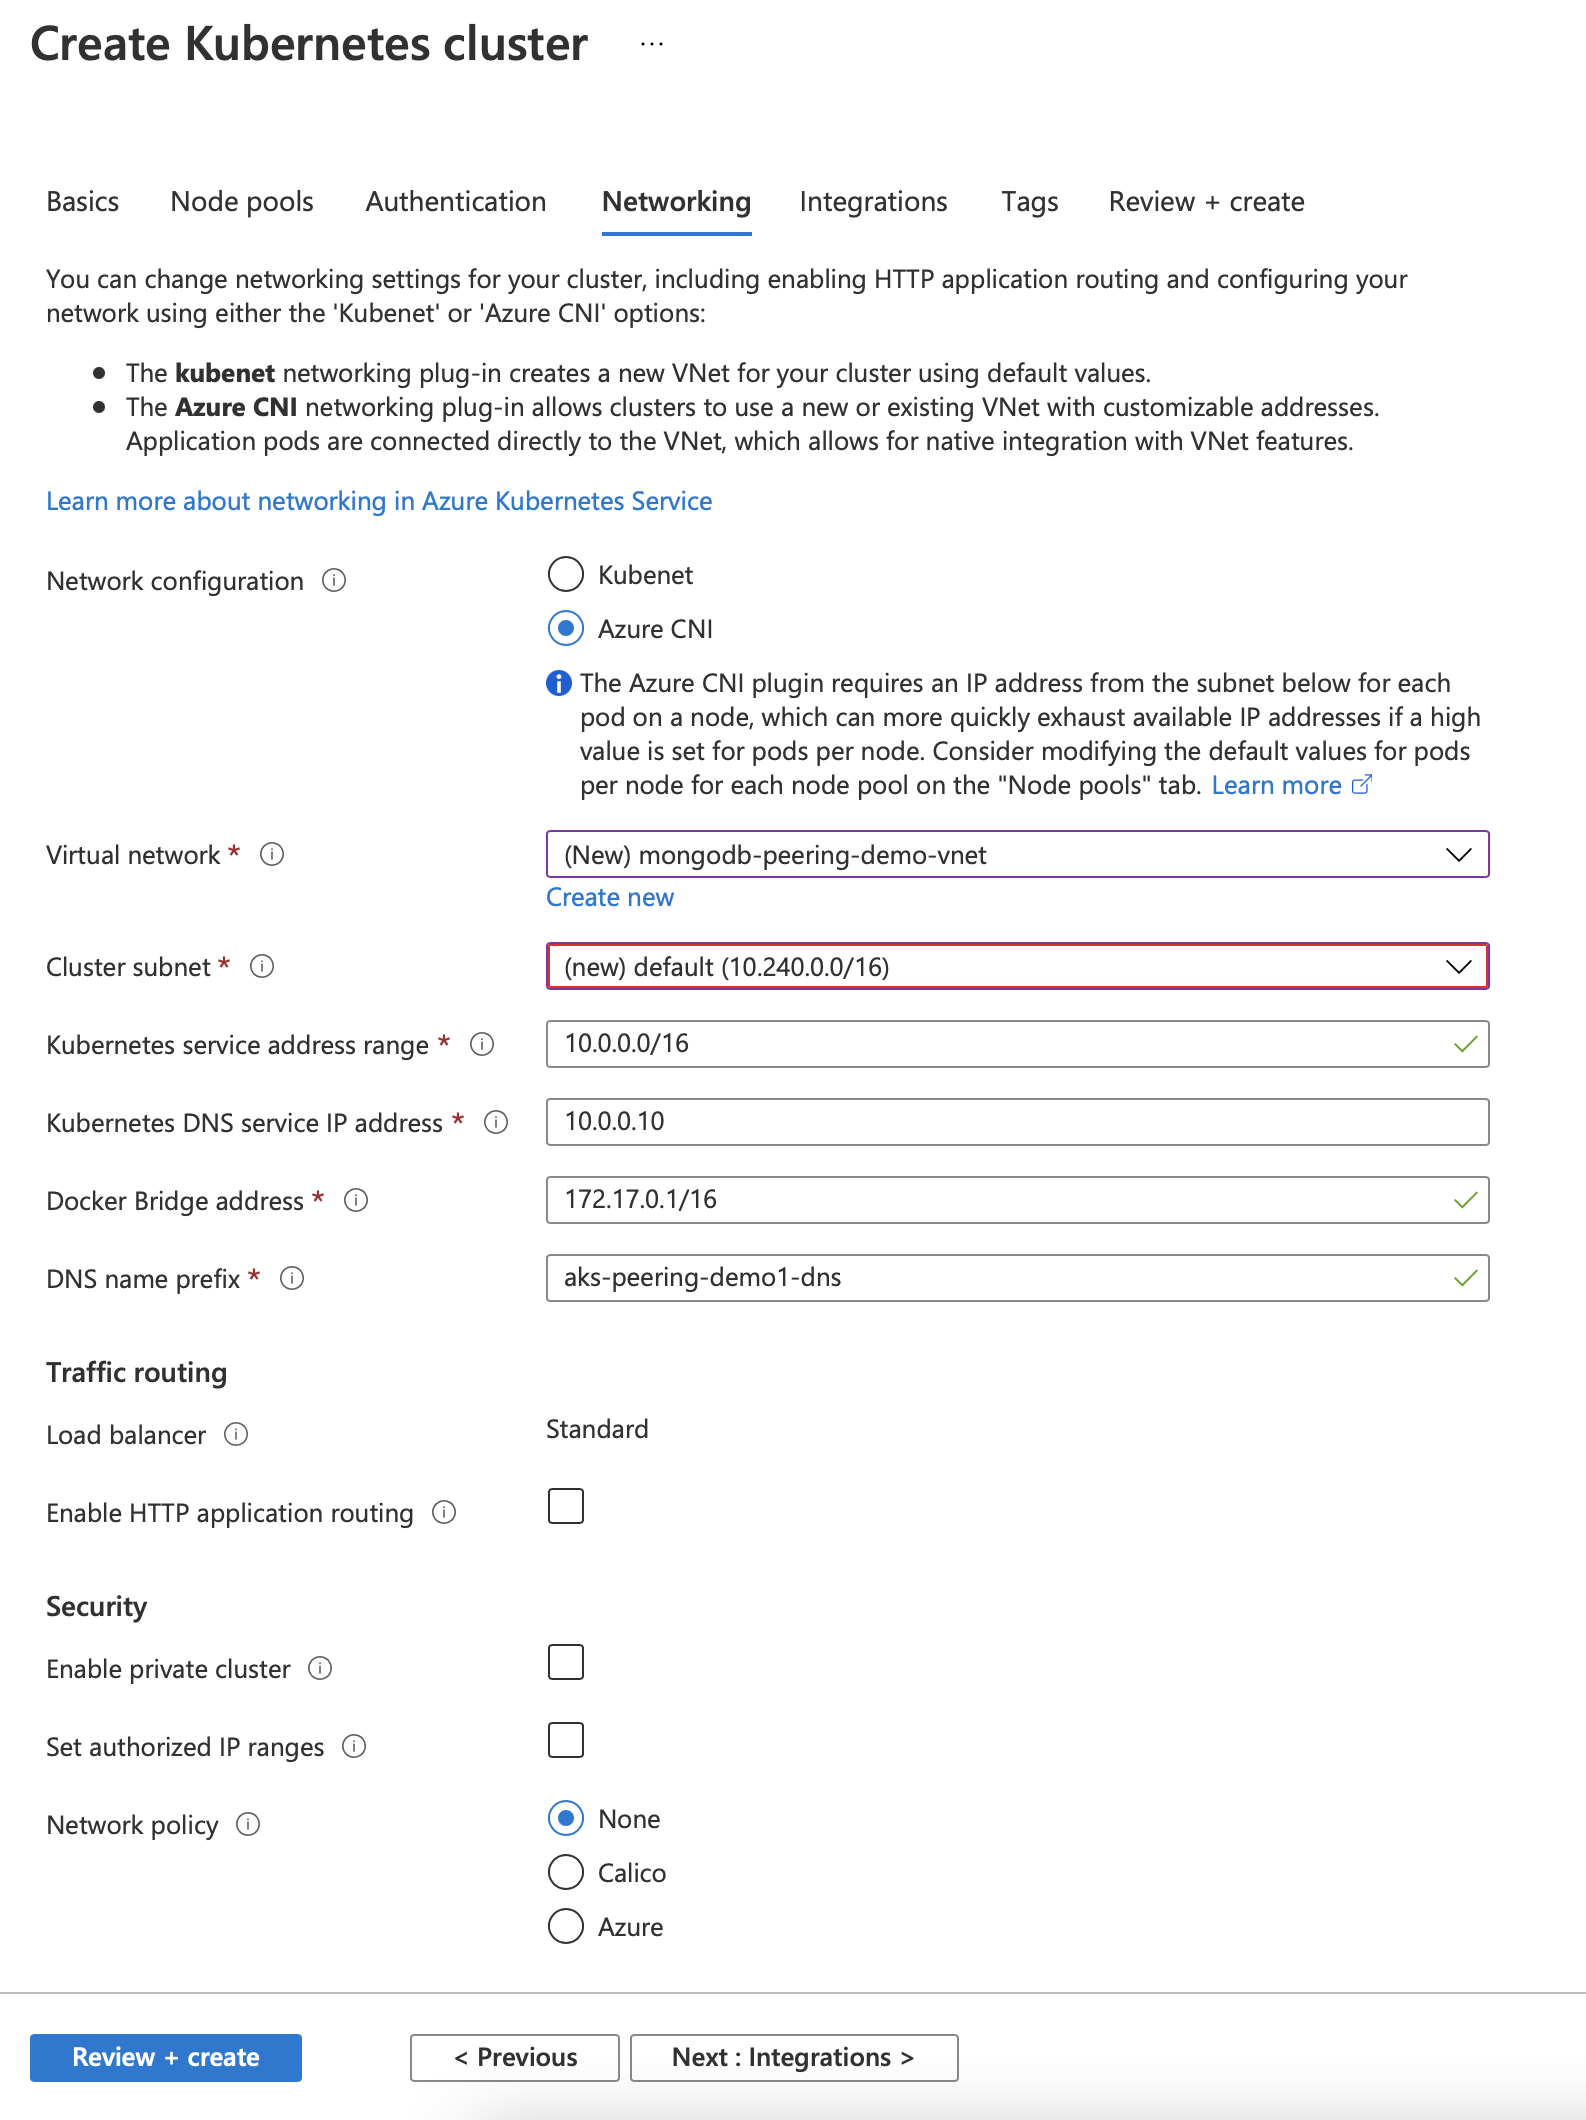
Use the default setting for others. One critical step lies in choosing the networking configuration. By default, AKS uses kubenet for network configuration. We choose Azure CNI instead to use VPN Peering. AKS doesn’t allow a change to these settings once the cluster has already been created, so it has to done while the cluster is being created.
Now, we can choose to use the created nirtual network and subnets, or create a new one. This virtual network will be used later for the MongoDB Peering.
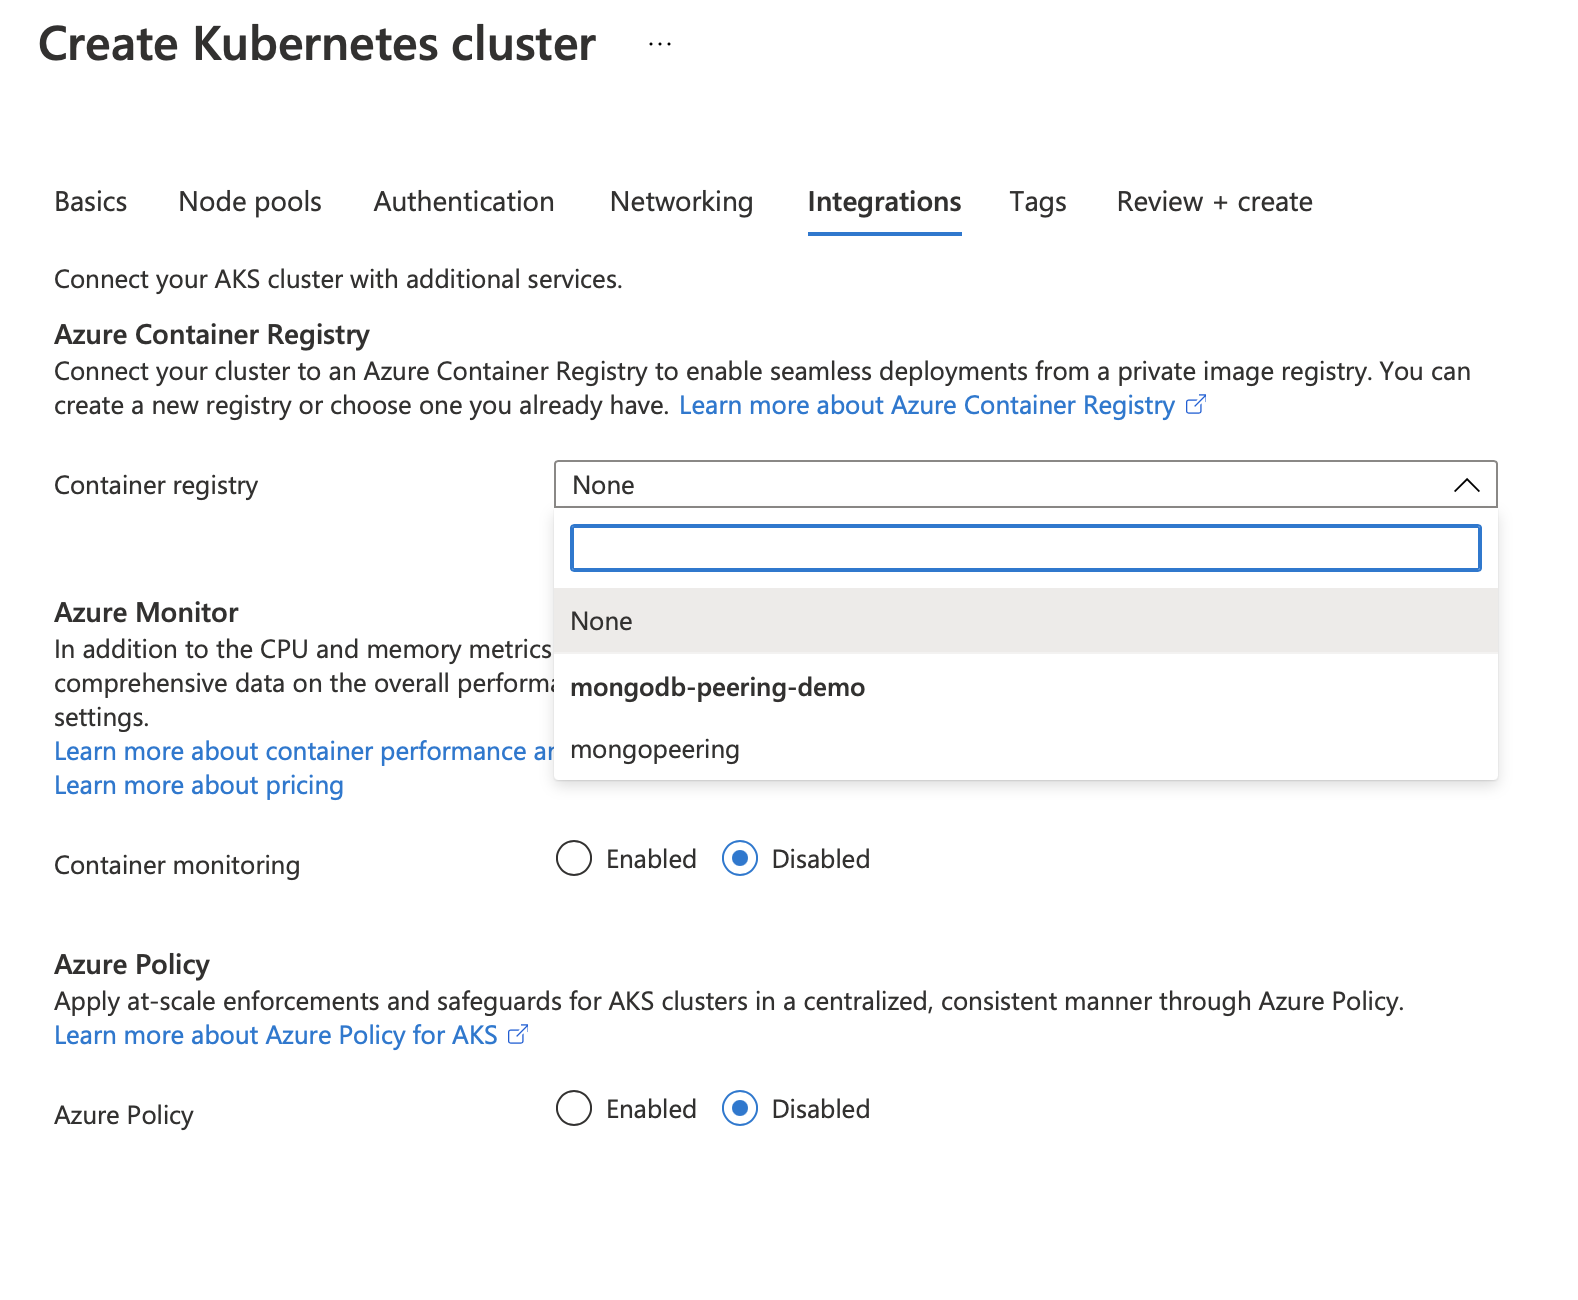
Our next step is to use the container register under the Integration tab. Here too, we can opt to use the existing container registry or create a new one.
Container registry is a repository for the spring boot application. We can pull this image from the registry and deploy it in the AKS when needed.
Network Access:
As a part of its security requirements, Atlas controls inbound traffic to the Cluster using Network Access settings. Currently, Atlas provides three options for this control.
- IP Address List: Configure the list of IP addresses (single IP address or a CIDR – notated range of addresses) for Atlas to allow connection requests.
- Peering: Atlas supports network peering connection from AWS, Azure and Google Cloud.
- Private Endpoint.
We will now configure Network Peering between Azure VNet and Atlas VNet.
Peering
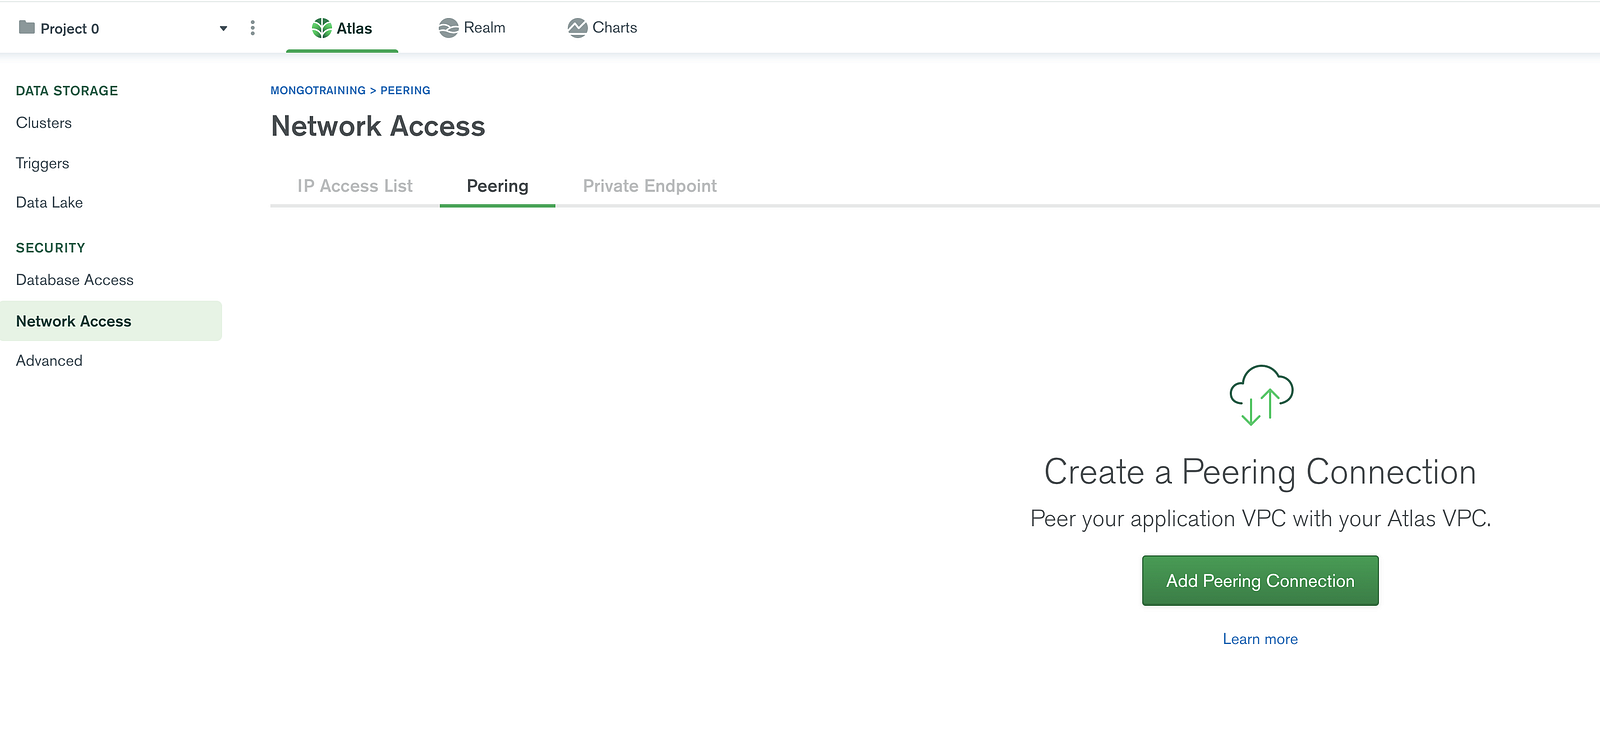
Choose Network Access, and go to the Peering Tab to add a new Peering Connection
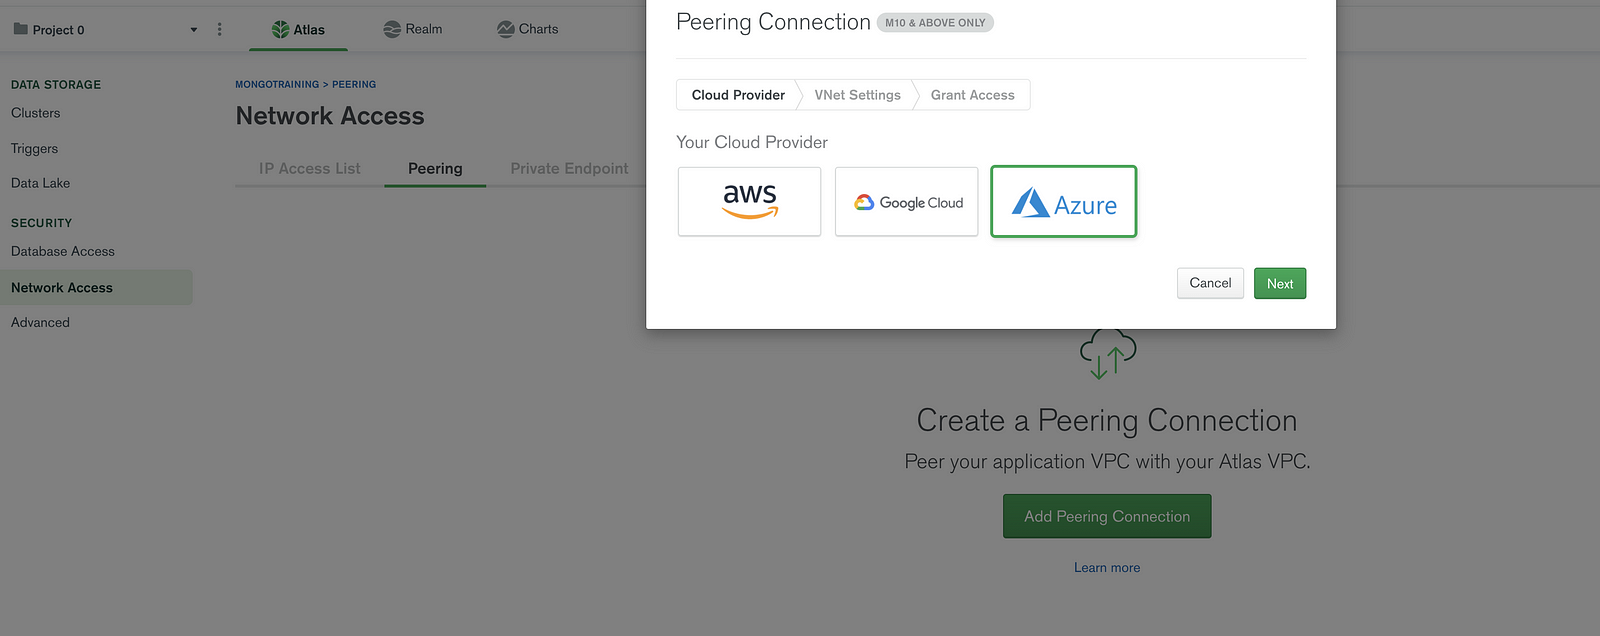
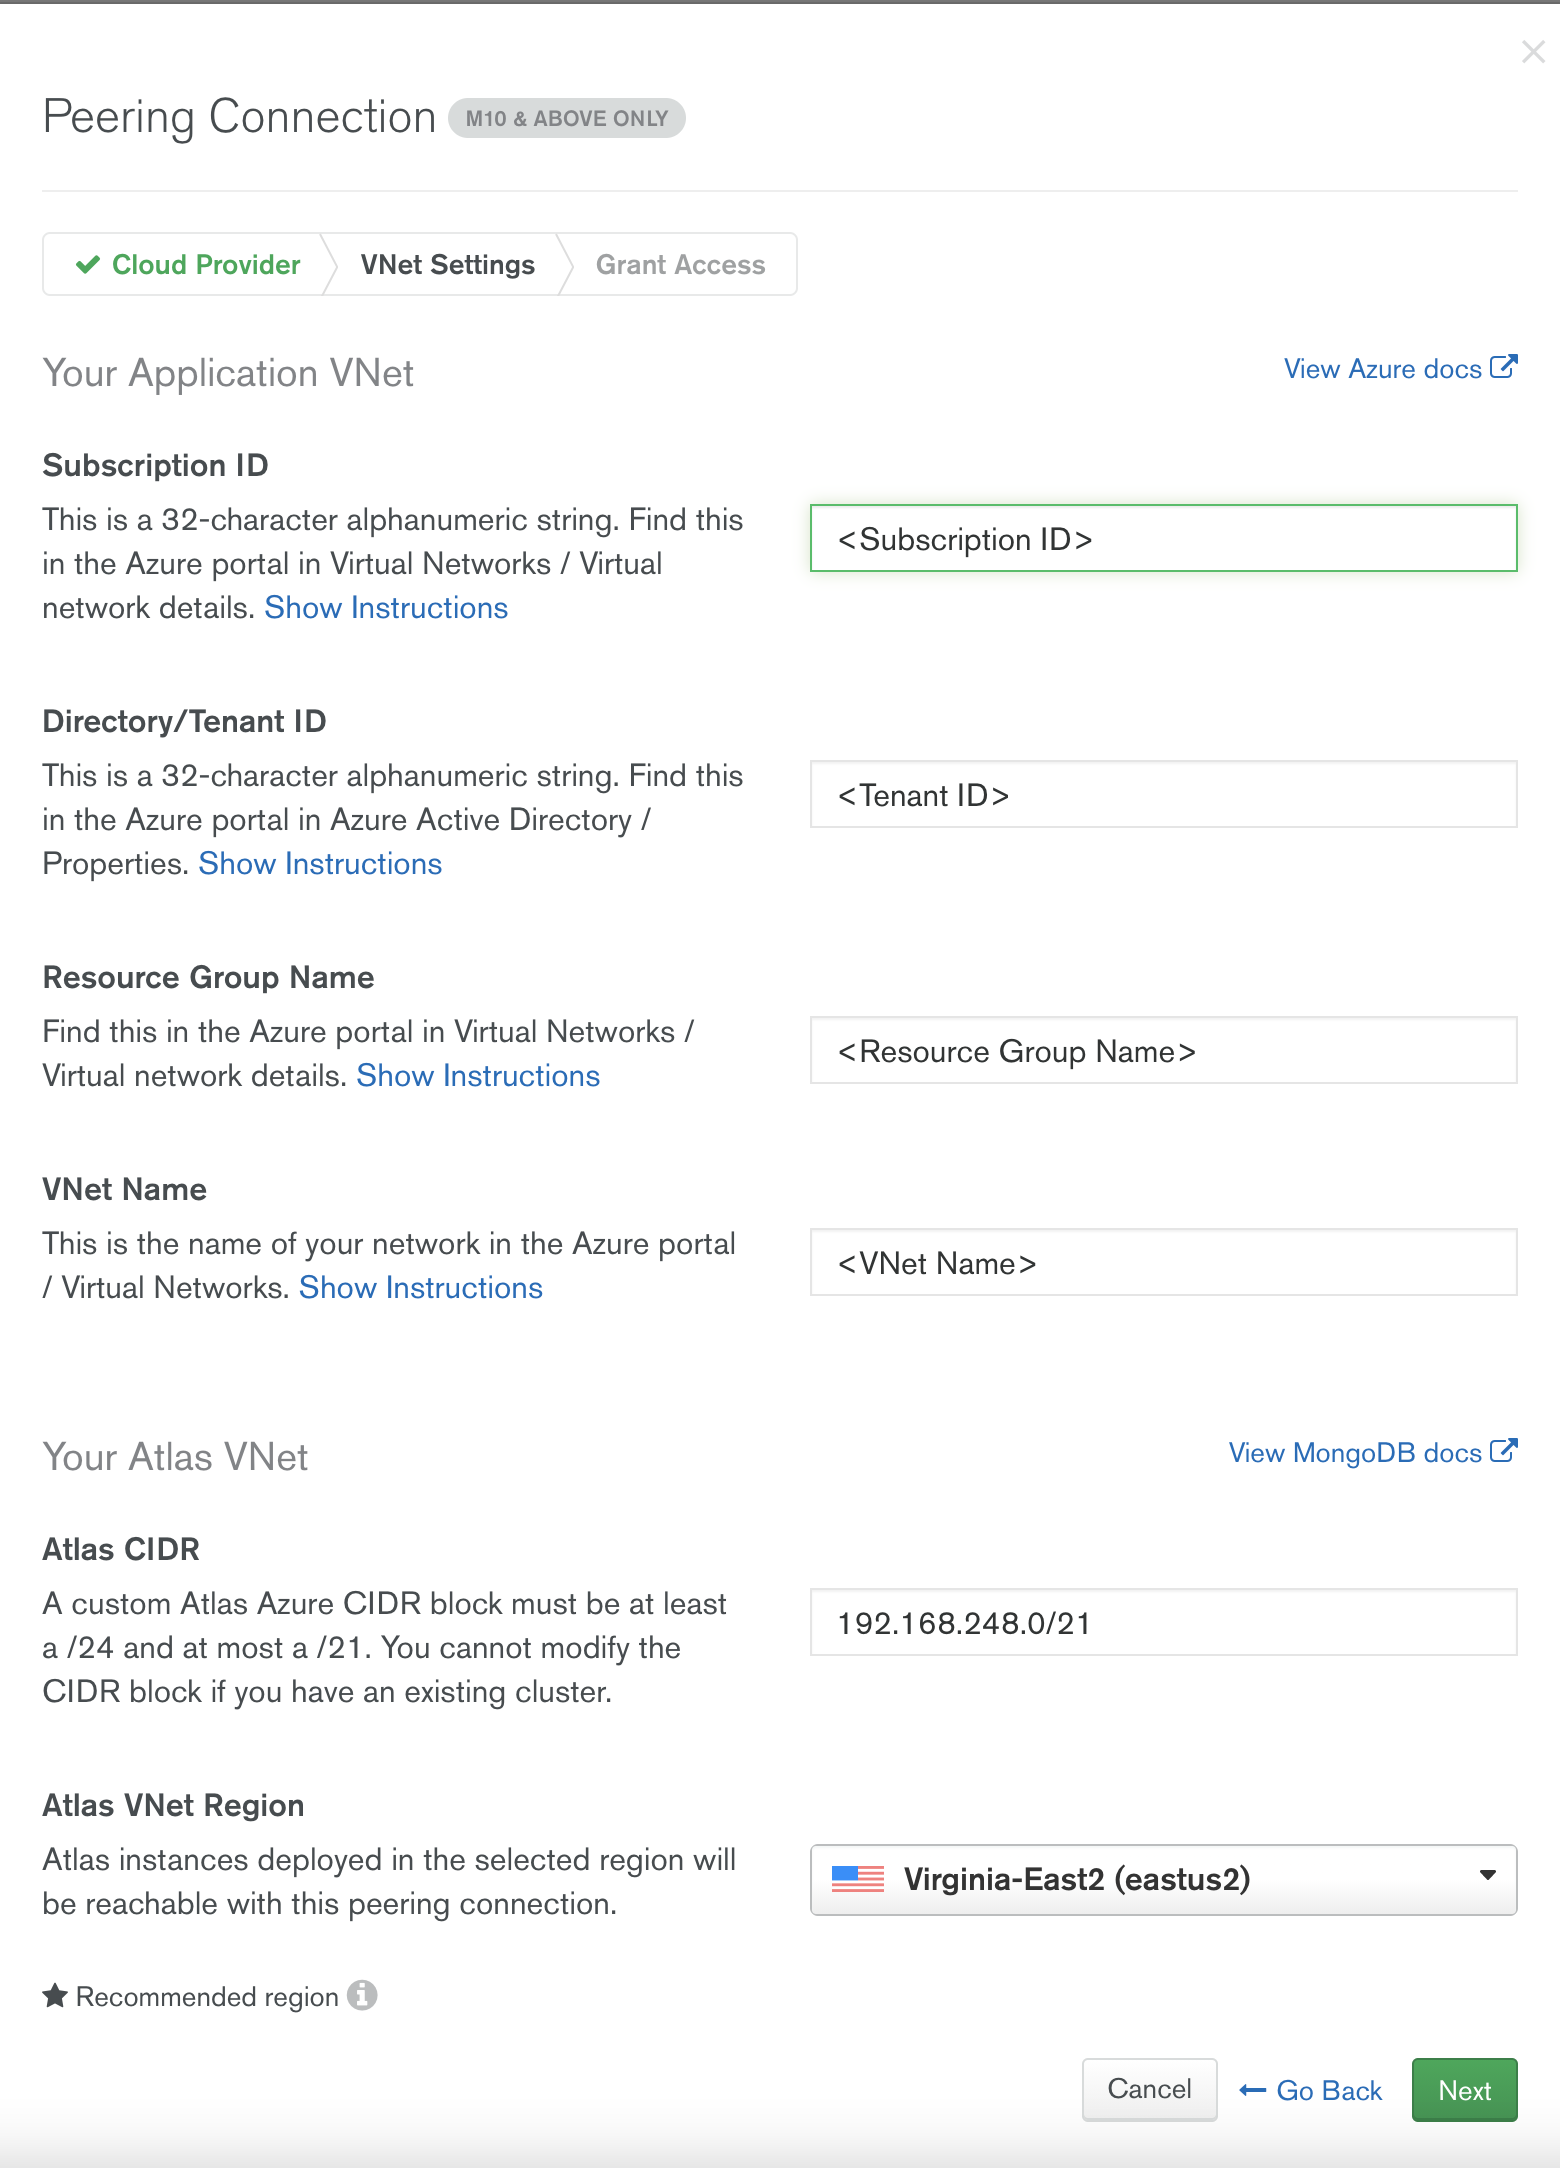
Get the information listed from the Azure account, and configure it in the Atlas wizard on prompt as shown:
- Subscription ID.
- Tenant ID.
- Resource Group Name (name of the resource group under which the VNET is created in Azure.
- VNet name: The VNet name of the Azure.
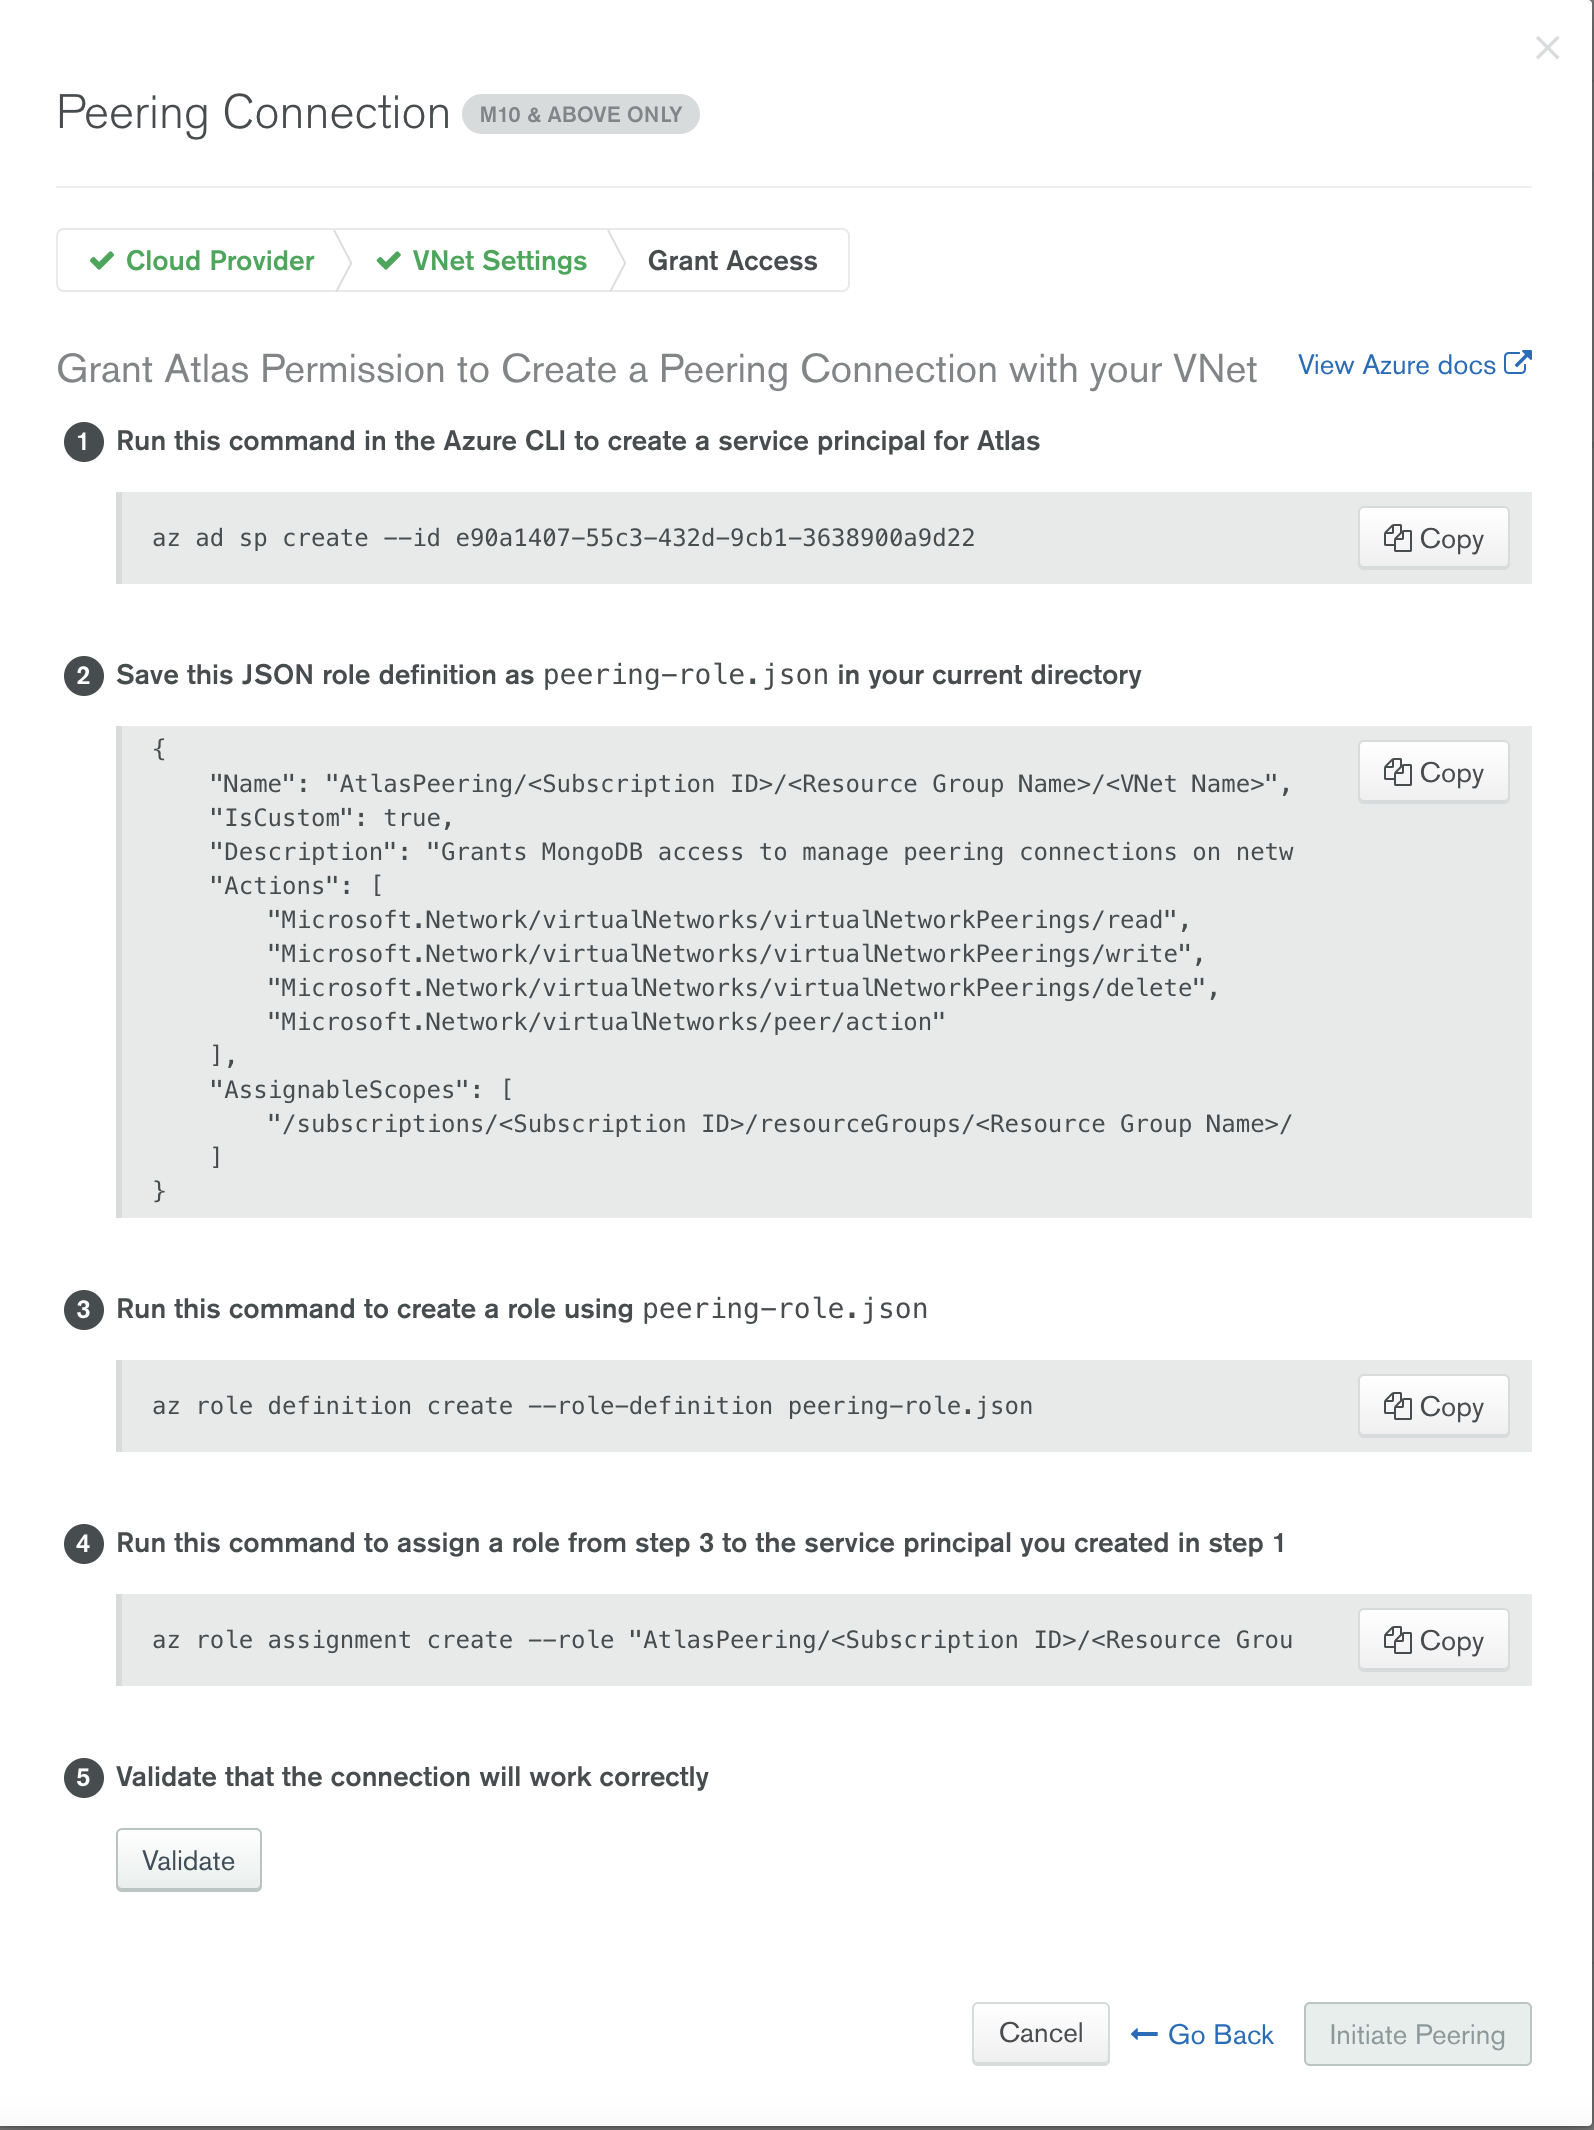
After configuration, Atlas provides you with a set of instruction that can be executed either in Azure CLI or Azure Cloud Shell (use bash instead of powershell). As a part of this step we create a service principal and a required role definition for Peering with Azure VNet.

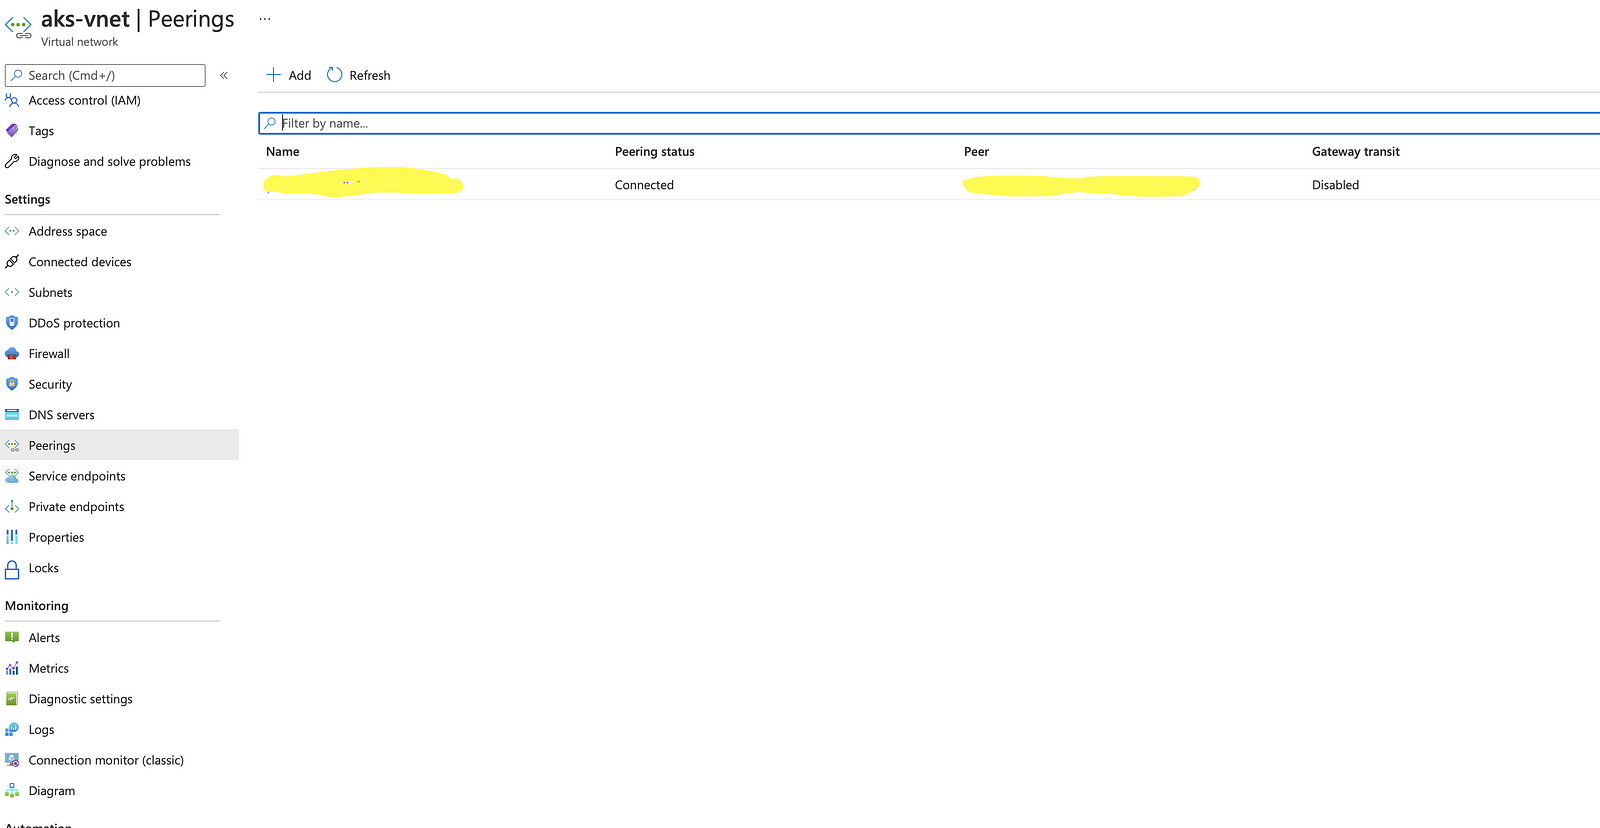
Switch back to the Azure portal and view the Peering status.
IP Address List:
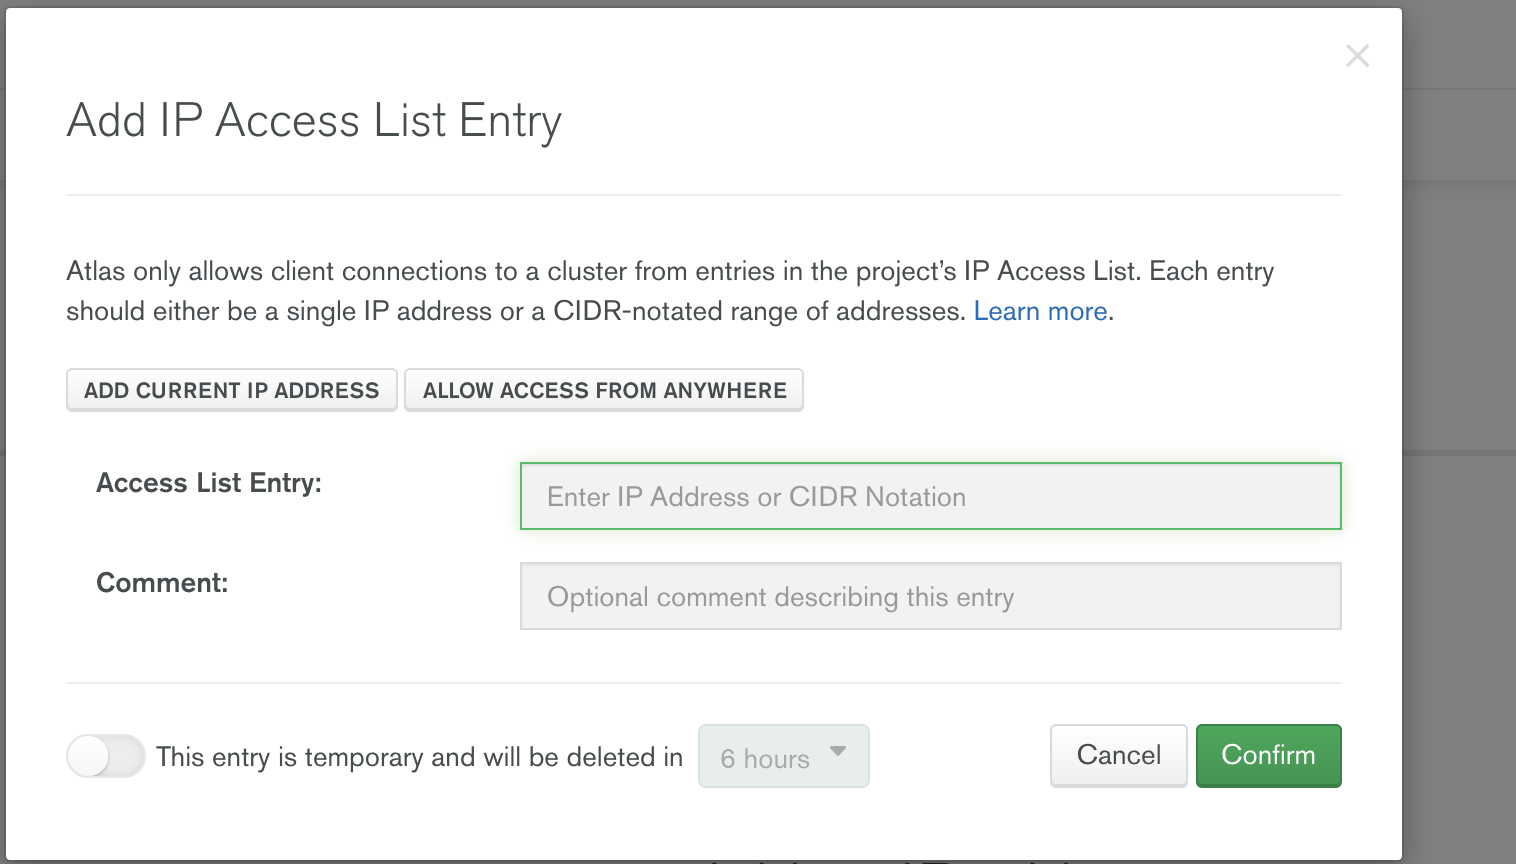
Once the Peering is active, the next step is to add the list of Private IP Address range from Azure VNet (subnet used while creating a AKS).
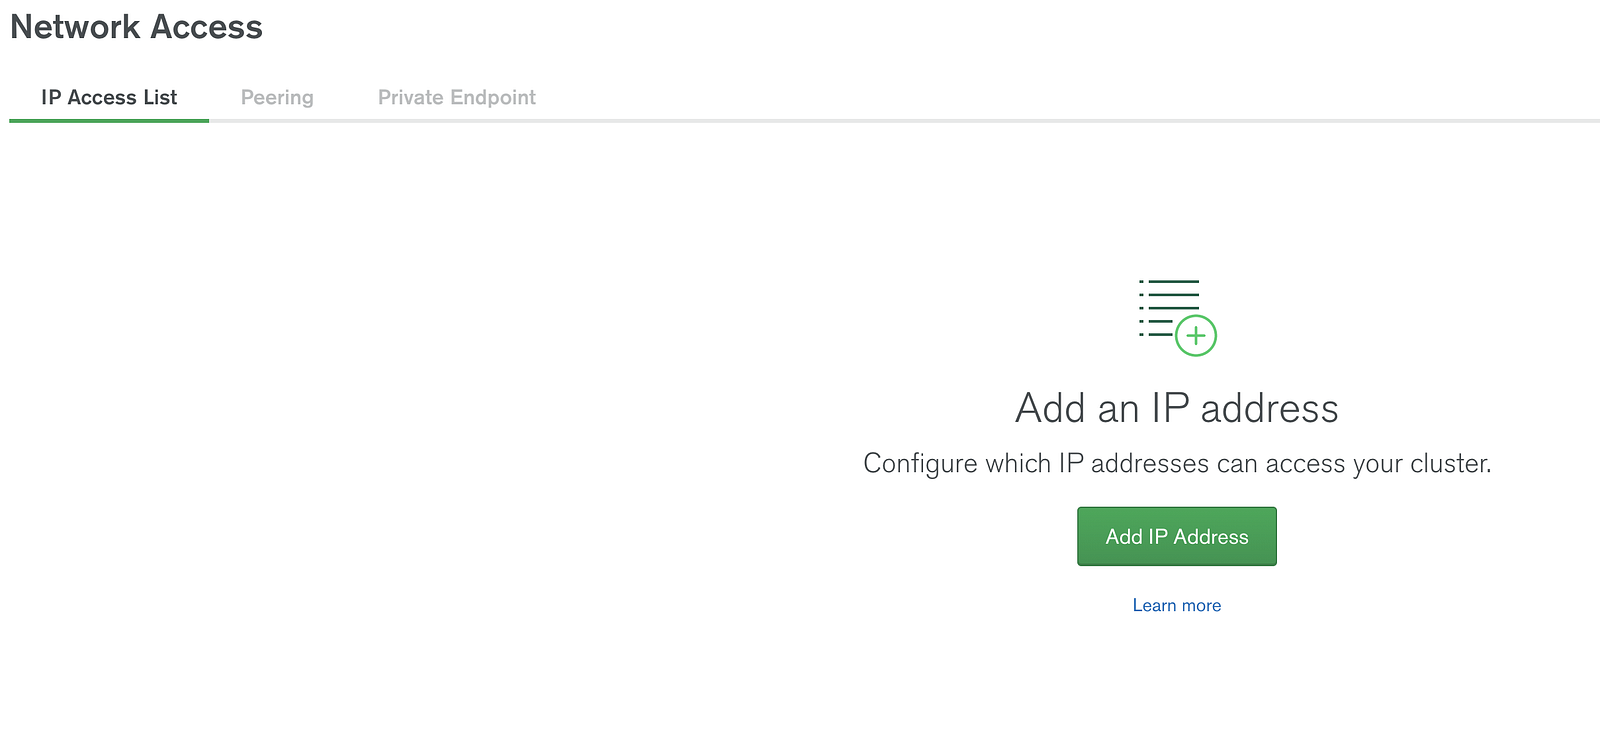
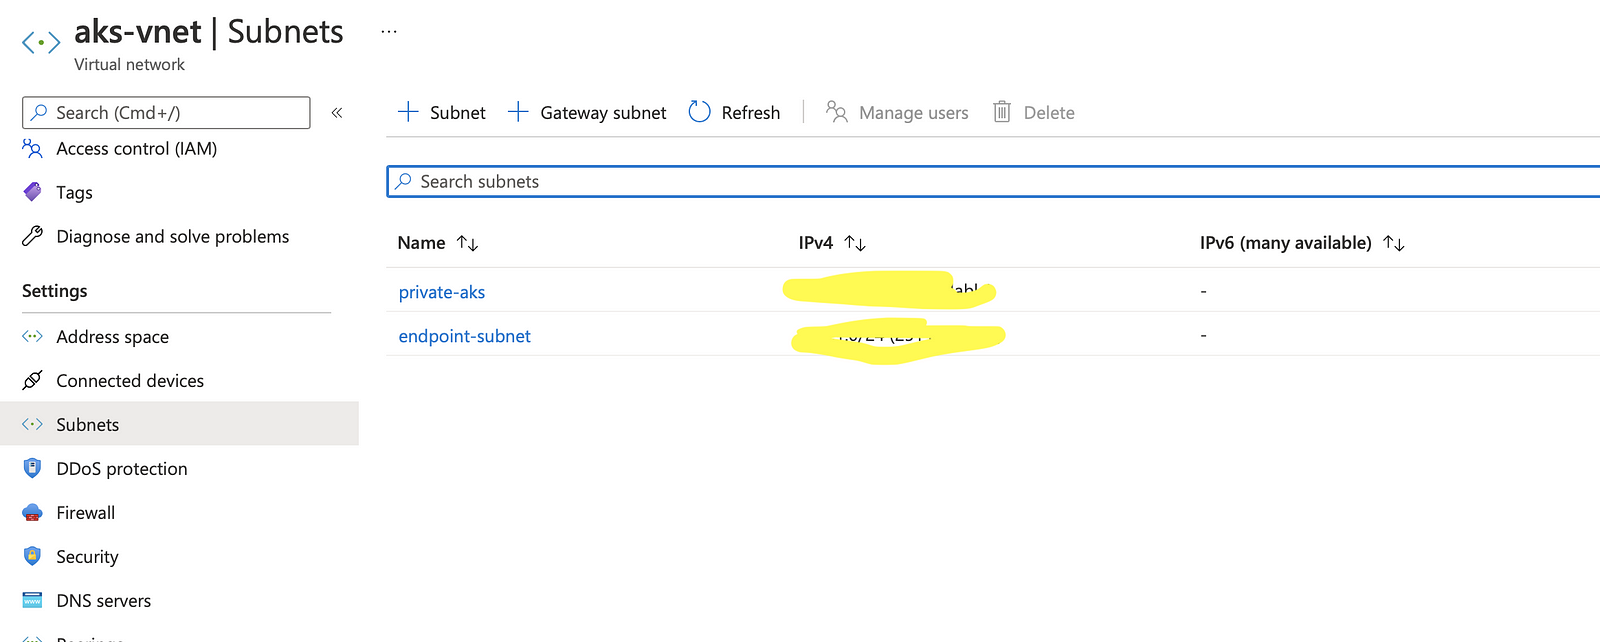
From the Azure portal, get the subnet Address used during AKS creation, and add them in the Atlas:
Peering is now setup between Azure VNet and Atlas Vnet! Let us now see how this can be leveraged in the spring boot application.
Connection String:
Atlas provides different connection strings based on the connection type. Once the Peering is established, choose “Private IP for Peering” under connection type.
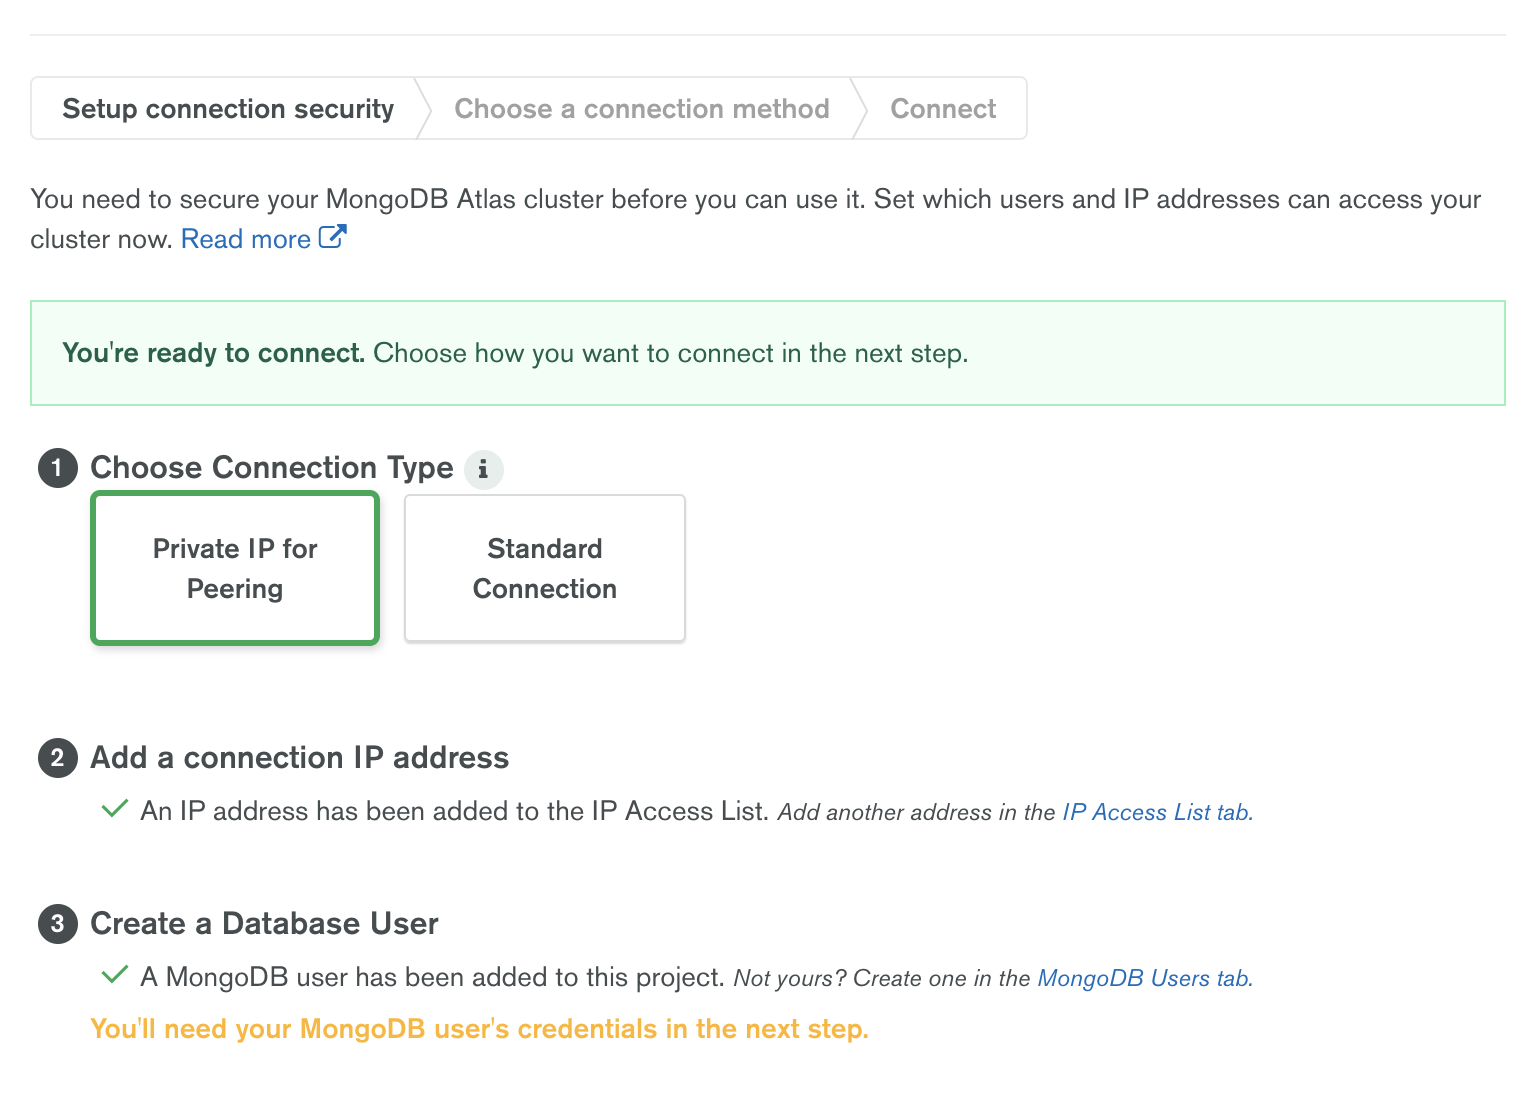
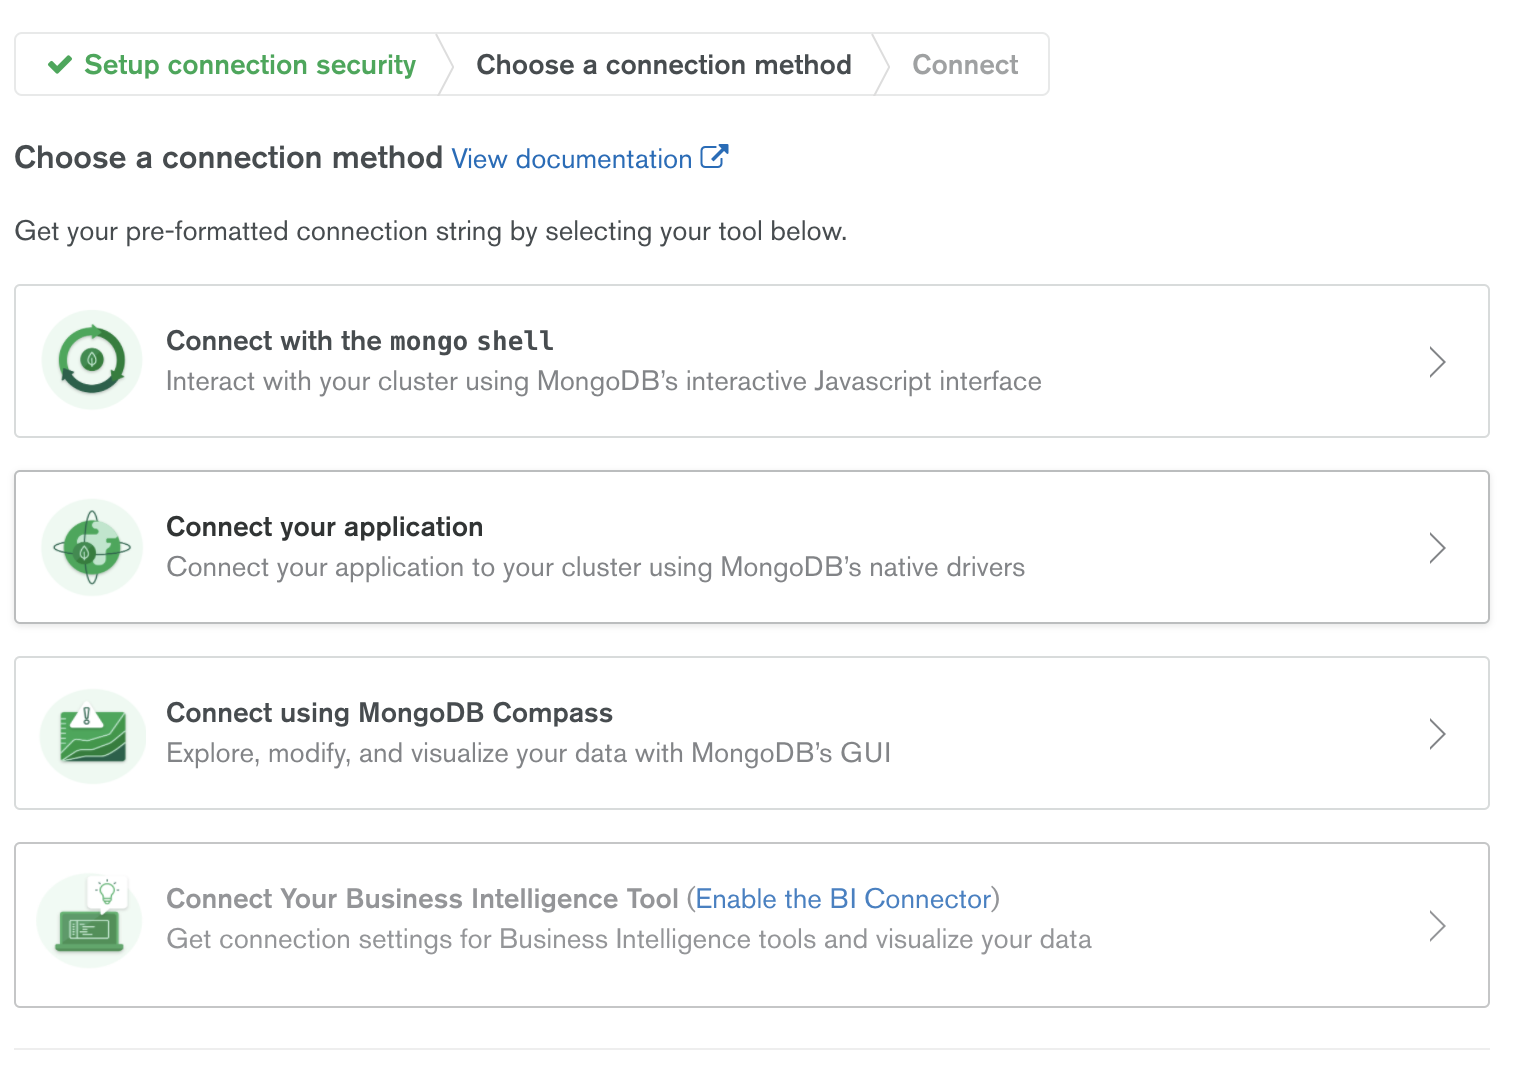
Use the connection string for Java, and have them configured in your spring boot app.
Build and Deploy Spring Boot App in AKS:
The repository shown below holds a simple spring boot app for connecting to MongoDB, and do basic CRUD operation.
Docker Build and Push to Container Repository:
From the git repository, update the connection string, and issue the following commands:
- mvn clean package -DskipTests=true
- docker build -t <containerrepositoryname>.azurecr.io/springmongopoc:v1.0 .
Once the build is complete, push the image to the Azure container registry:
- az login
- az acr login -n <containerrepositoryname>
- docker push <containerrepositoryname>.azurecr.io/springmongopoc:v1.0
Deploy App to AKS and Expose endpoint:
Login to AKS Cluster and deploy the app:
- az aks get-credential –resource-group=<your resource group name> –name=<yourclustername>
- kubectl create deployment mongospringpoc –image=<containerrepositoryname>.azurecr.io/springmongopoc:v1.0
- kubectl expose deployment mongospringpoc –port=8080 –type=LoadBalancer
Access exposed REST end point to verify:
You can now access the Atlas Cluster from the spring boot app., hosted in AKS!


